
Decorative wrought iron looks simple after it is finished, but good ironwork depends on planning, controlled bends, clean joints, balanced proportions, and the right surface finish.
I make decorative wrought iron by drawing the design, choosing suitable iron or mild steel, cutting the material, heating or mechanically bending it into curves and scrolls, joining the individual parts, cleaning the surface, and applying a protective finish. Today, most new decorative “wrought iron” is actually fabricated from mild steel.
I do not begin with welding or forging. I begin with the pattern. Decorative iron looks best when every scroll, bar, leaf, and open space belongs to the same composition.
What Is Decorative Wrought Iron Made Of?
The name can be confusing because traditional wrought iron and modern ornamental ironwork are not always the same material.
Traditional wrought iron is a low-carbon iron with a fibrous structure created by working iron containing slag. Genuine wrought iron is no longer commercially produced on a normal industrial scale. Most decorative wrought iron made today uses mild steel that is cut, bent, forged, twisted, and welded to create the appearance of traditional hand-worked iron.
I Usually Start With Mild Steel for New Decorative Work
If I am making a new decorative panel, garden ornament, furniture detail, wall decoration, or railing accent, mild steel is usually the most practical material.
It is widely available.
It can be cut with common metalworking equipment.
It can be bent cold in smaller sections.
It can also be heated and forged.
It accepts welding well.
It can be painted, powder coated, blackened, or finished in several other ways.
Historic conservation is different.
If I am repairing important historic wrought iron, I would not automatically replace original material with modern steel. Conservation guidance points out that genuine wrought iron has different material properties and surface character. Recycled wrought iron may still be sourced for specialist restoration work.
For ordinary decorative fabrication, however, modern mild steel lets me create the visual language people usually mean when they say “wrought iron.”
I Choose the Steel Profile According to the Ornament
I do not use the same bar for every decorative part.
| Material form | Where I may use it |
|---|---|
| Flat bar | Scrolls, leaves, borders, straps |
| Round bar | Curves, stems, rings, small ornaments |
| Square bar | Twists, frames, balusters |
| Sheet steel | Leaves, flowers, silhouettes |
| Round tube | Larger lightweight frames |
| Square tube | Gates, screens, structural borders |
| Solid plate | Bases and mounting sections |
Flat bar is one of my favorite materials for learning decorative ironwork.
It gives me a clear face and edge. I can make scrolls, gentle curves, hooks, and geometric forms without starting with complex forging.
Square bar is useful when I want twisted decorative sections.
Round bar works well for organic shapes and plant-inspired patterns.
I Think About Scale Before Thickness
The metal should match the size of the design.
A delicate tabletop ornament can use narrow bar.
A large gate panel needs heavier material.
If I make every decorative element too thick, the design can look heavy.
If the material is too thin, the finished piece may look weak or may not hold its shape.
I try to balance visual weight with structural needs.
This is one reason I make a full-size drawing before fabrication.
I can place the proposed bar size over the drawing and see whether the proportions make sense.
How Do You Make Wrought Iron Scrolls?
Scrolls are one of the most recognizable features of decorative ironwork. They can also make a design look amateurish when the curves are inconsistent.
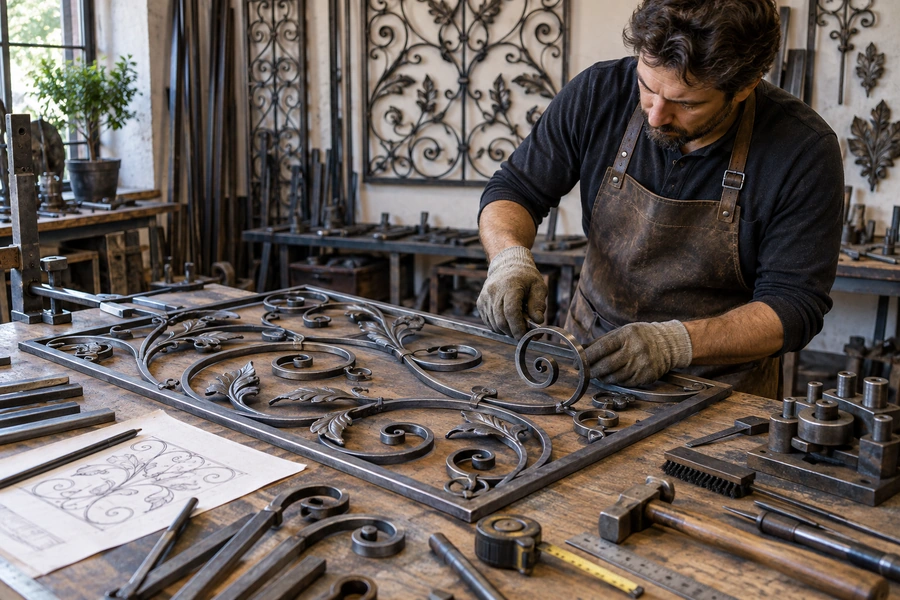
I make wrought iron-style scrolls by drawing the curve at full size, cutting a suitable length of flat or round steel, forming the inner curl first, and gradually bending the rest of the bar around a scroll form or ornamental bender. A template or jig helps me repeat the same curve when I need several matching scrolls.
I Draw the Scroll at Full Size
I do not try to bend a decorative scroll entirely by eye.
I first draw the finished curve at actual size.
This lets me judge:
- Overall diameter
- Inner curl
- Direction of the curve
- Amount of open space
- Relationship to nearby bars
- Length of steel required
Traditional instructional material for ornamental wrought iron also starts scroll construction with a full-size drawing and a form designed from that drawing.
This is important because a small error in the inner curve becomes more visible as the scroll becomes larger.
I Start With the Inside Curl
A good scroll usually begins at its tightest point.
I form that inner section first.
Depending on the steel size and my equipment, I may bend smaller material cold with a jig or ornamental bender.
For traditional forged work, I heat the appropriate part of the bar and shape it while hot.
The Metropolitan Museum of Art’s documentation of blacksmith Samuel Yellin shows traditional ornamental grille work being created through a sequence of heating, cutting, shaping, and joining.
I do not heat metal casually. Hot forging requires proper blacksmithing equipment, ventilation, protective clothing, eye protection, and training.
For a beginner, a manual ornamental bender and suitable small mild-steel stock can make controlled decorative curves much easier.
Modern ornamental benders can form scrolls, rings, radii, and angles in round, square, and flat stock.
I Use a Jig When I Need Repetition
Imagine that I am making a decorative gate with eight matching scrolls.
If I bend each one freely by eye, small differences can quickly become obvious.
A scroll jig gives me a reference form.
I bend each piece around the same shape.
Then I compare the finished parts before assembling the panel.
This gives me consistency without making everything look completely mechanical.
I can still slightly adjust individual pieces when I want a more handmade appearance.
I Control the Empty Space
I do not look only at the metal.
I look at the empty space between the curves.
This is one of the biggest lessons in decorative iron design.
Two scrolls can be beautifully formed but still look wrong when their spacing creates an awkward gap.
I regularly place the parts over the full-size pattern while I work.
That tells me whether the entire composition feels balanced.
I Can Add Twists and Leaves
Scrolls are only one decorative technique.
I can also make:
- Twisted square bars
- Rings
- S-curves
- C-scrolls
- Leaves
- Rosettes
- Flowers
- Spirals
- Basket-style twists
- Hammered ends
- Tapered points
Traditional ironworkers also used punches, chisels, hammering, incised lines, twisting, and forged surface textures to decorate individual components. A traditional wrought-iron door-ring example documented by the Cretan Ethnology Museum shows separate components being cut, punched, hammered, twisted, and assembled into one finished decorative object.
I do not use every technique in one piece.
Too many decorative ideas can compete with each other.
How Is Decorative Wrought Iron Joined Together?
A decorative panel may contain many small pieces, but those pieces need to behave like one finished object.
Decorative wrought iron can be joined with traditional forge welding, collars, wraps, rivets, tenons, mechanical fasteners, or modern welding. For most contemporary mild-steel decorative work, welding is the common practical method. I normally assemble and tack the design first, check its alignment against the pattern, and only then complete the permanent joints.
I Assemble the Design Before Final Welding
I place the main frame on a flat work surface.
Then I position the decorative elements inside it.
I use the drawing underneath or nearby as a guide.
I check:
- Symmetry where symmetry is intended
- Spacing
- Scroll direction
- Center lines
- Overall dimensions
- Contact points
- Whether any element looks visually heavy
Then I secure the pieces temporarily.
For welded mild steel, small tack welds can keep the parts in position.
I step back and inspect the entire composition before completing the welds.
This step saves me from permanently joining a scroll that is slightly too high or a ring that is visibly off-center.
Traditional Ironwork Can Use More Than Welds
Historic ornamental ironwork was not simply a collection of modern arc welds.
Blacksmiths used techniques such as:
- Fire welding
- Collars
- Rivets
- Wrapped joints
- Forged tenons
- Upset connections
- Mechanical bindings
The historic Samuel Yellin demonstration preserved by The Met shows ornamental iron grille components being shaped and bound together using traditional methods.
I find these traditional joint details visually interesting because the connection itself can become decoration.
For example, I can use an ornamental collar around the intersection of two bars instead of trying to hide every joint.
I Do Not Grind Every Weld Completely Flat
This depends on the design.
A contemporary decorative panel may benefit from very clean joints.
A hand-forged piece may look better when some texture remains.
I remove:
- Sharp edges
- Dangerous projections
- Loose slag or spatter
- Rough areas that interfere with finishing
I do not automatically grind the metal until every sign of fabrication disappears.
Handmade character can be part of decorative ironwork.
I Keep Structural Work Separate From Pure Decoration
A small wall ornament is mainly decorative.
A gate, balcony guard, stair railing, or safety barrier has structural responsibilities.
I do not treat those projects as simple crafts.
If the finished ironwork will prevent falls, support people, carry significant loads, or form part of a building, I use the required engineering, code, and qualified fabrication standards.
Decorative appearance never replaces structural safety.
How Do You Finish Decorative Wrought Iron?
The finish changes both the appearance and the durability of decorative ironwork. The right finish depends heavily on whether the object will stay indoors or outdoors.
I finish decorative wrought iron by removing scale, rust, oil, welding residue, and dust before applying the chosen protective treatment. For indoor pieces, traditional wax or blackened finishes can preserve a natural forged appearance. For outdoor steel, I prefer a corrosion-resistant primer and compatible exterior coating or a properly prepared powder-coated finish.
I Clean the Metal Before Finishing
Finishing begins with preparation.
I inspect the entire piece after fabrication.
I remove loose:
- Rust
- Scale
- Grinding dust
- Oil
- Grease
- Welding residue
- Surface contamination
Intricate ironwork needs special attention because curves, intersections, and small crevices can hold contamination.
This Old House notes that decorative metalwork with many joints and crevices is particularly vulnerable to corrosion and recommends careful cleaning, priming, and coating of those areas.
For Indoor Iron, I Like Natural Dark Finishes
An interior decorative object does not face rain.
That gives me more finishing options.
A traditional blackened or dark gray iron appearance can show off hammer texture better than a thick glossy coating.
Wax finishes are often used for indoor hand-forged iron because they preserve the dark natural appearance of the metal.
However, professional iron studios warn that wax alone is generally intended for interior use. Long exterior exposure can still allow rust to develop.
So I choose the finish according to the actual environment.
For Outdoor Iron, Corrosion Protection Matters More
For outdoor decorative metal, I do not rely on appearance alone.
Iron and ordinary steel corrode when water and oxygen reach the surface. Protective coatings reduce that exposure.
A common exterior system includes:
- Proper surface cleaning.
- Rust removal where required.
- A metal primer suitable for ferrous metal.
- A compatible exterior metal finish.
- Careful coverage of joints and crevices.
- Periodic inspection and touch-up.
I pay particular attention to decorative curls because water can sit inside tight details.
If I use powder coating, good preparation still matters.
The coating is only as reliable as the surface underneath it.
Finish Also Changes the Style
I can make the same iron design feel very different by changing the finish.
| Finish | Visual character |
|---|---|
| Matte black | Classic and versatile |
| Soft black | Hand-forged appearance |
| Dark bronze | Traditional and warm |
| Natural waxed iron | Artisan and organic |
| Aged brown | Rustic |
| Powder-coated white | Lighter and more contemporary |
| Deep green | Traditional garden style |
| Colored powder coat | Modern decorative approach |
I usually choose the finish after I know where the object will be installed.
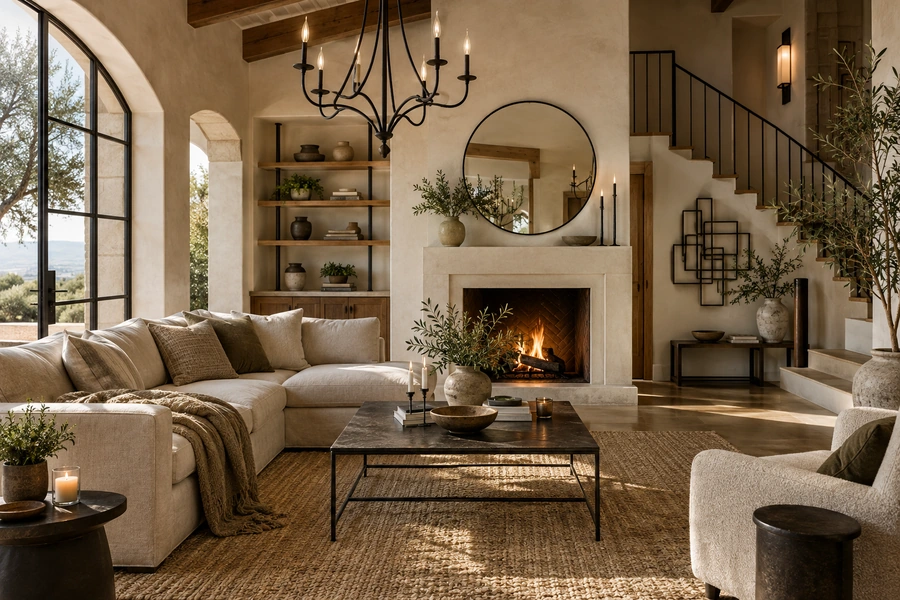
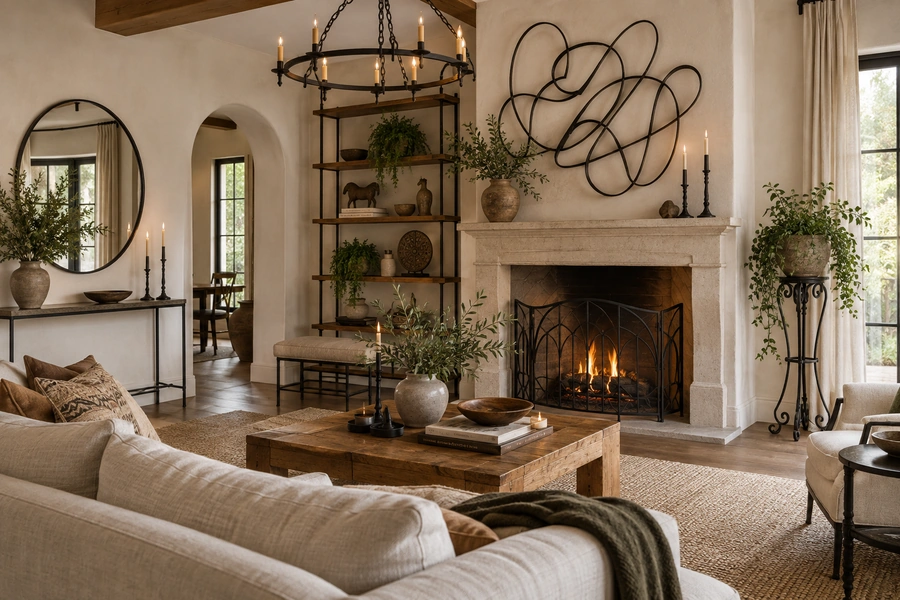
The metal should relate to the room, architecture, furniture, or garden around it.
My insights: How to Make Decorative Wrought Iron
After comparing traditional blacksmithing with modern ornamental fabrication, I think the most important part is not the number of scrolls I can make. It is how well the design, material, forming method, connections, and finish work together.
I make decorative wrought iron by first creating a full-size balanced pattern, then choosing mild steel or genuine reclaimed wrought iron according to the project, forming each decorative component with controlled bends or forging, joining the pieces cleanly, and selecting a finish that protects the metal without hiding its character. For most new decorative work, mild steel is the practical choice.
My First Insight: The Design Comes Before the Forge
Decorative ironwork is drawing translated into metal.
If the drawing is weak, technically perfect welding will not fix the composition.
I therefore start with:
- Overall dimensions
- Main frame
- Center line
- Repeated shapes
- Scroll direction
- Empty spaces
- Focal decorative elements
- Mounting points
I then make the pattern full size.
That one step makes the rest of the fabrication easier.
Traditional ornamental iron instruction also emphasizes full-scale layout before forming scrolls.
My Second Insight: I Do Not Need Genuine Wrought Iron to Learn the Craft
This point removes a lot of confusion.
Historic wrought iron is a specific material.
Modern decorative “wrought iron” is often mild steel.
Scotland’s Building Conservation Centre notes that wrought iron has not been made commercially there since the 1960s and that ornamental mild steel is frequently described as wrought iron even though “wrought steel” would be more technically accurate.
For new decorative work, that is not a problem.
I can learn the core design skills with mild steel:
- Measuring
- Cutting
- Bending
- Scroll forming
- Twisting
- Forging
- Welding
- Grinding
- Finishing
If I later work on historic restoration, the material question becomes much more important.
My Third Insight: Repetition Needs a Jig, but Beauty Still Needs Variation
If a design contains six matching scrolls, I use a form or jig.
I do not want six completely different curves.
At the same time, I do not believe decorative iron has to look machine-perfect.
Traditional hand-forged iron often contains small variations.
Those variations can create character.
I therefore use jigs for control while allowing small handmade differences where they suit the design.
Modern ornamental bending tools make this process much easier because they can repeat scrolls, rings, radii, and bends across different bar profiles.
My Fourth Insight: Empty Space Is Part of the Decoration
This is one of the most important design lessons for me.
I am not only shaping steel.
I am shaping the openings between the steel.
Consider a decorative gate.
The eye sees the scroll.
It also sees the teardrop-shaped opening beside the scroll.
It sees the rhythm between vertical bars.
It sees the empty area around the center ornament.
That negative space determines whether the design feels elegant or crowded.
So I do not keep adding decorative parts simply because there is room to weld them.
Sometimes removing one scroll improves the entire composition.
My Fifth Insight: The Best Decorative Iron Shows How It Was Made
I do not think every hammer mark needs to disappear.
I do not think every joint needs to pretend it was never joined.
Decorative iron has a long history of visible craftsmanship.
The traditional examples documented by The Metropolitan Museum of Art and the Cretan Ethnology Museum show that ornamental ironwork was created by heating, hammering, cutting, punching, bending, twisting, binding, and joining separate parts.
Those processes can leave character in the material.
For a handmade piece, I may deliberately preserve:
- Light hammer texture
- Forged tapers
- Slightly irregular curves
- Decorative collars
- Chisel marks
- Natural dark iron tones
I still keep the workmanship clean.
Handmade does not mean careless.
My Simple Decorative Iron Process
| Stage | What I focus on |
|---|---|
| Concept | Where and how the piece will be used |
| Drawing | Balanced overall composition |
| Full-size pattern | Exact proportions and curves |
| Material | Correct bar shape and thickness |
| Cutting | Accurate dimensions |
| Scroll forming | Smooth controlled curves |
| Forging | Texture, taper, leaves, details |
| Layout | Balanced negative space |
| Joining | Strong, clean connections |
| Grinding | Safe edges and appropriate finish |
| Surface preparation | Clean metal |
| Finish | Protection and visual character |
| Installation | Secure attachment |
My Final Approach
When someone asks me “How to make decorative wrought iron?”, I begin with a pencil instead of a hammer.
I draw the shape.
I decide how the scrolls relate to each other.
I make a full-size pattern.
Then I select the metal.
For most new projects, I use mild steel rather than trying to find genuine historic wrought iron.
I cut the individual pieces.
I bend the main curves.
If I need matching scrolls, I use a jig or ornamental bender.
If the design needs forged details, I shape those areas with the appropriate blacksmithing process.
I lay every component on the pattern before permanent assembly.
I make adjustments while they are still easy.
Then I join the pieces.
I clean dangerous edges and unwanted fabrication marks without removing all handmade character.
Finally, I choose the finish according to the location.
For interior work, I may use a dark natural or waxed finish when appropriate.
For exterior work, I use a proper corrosion-protection system.
This process gives me decorative iron that does more than copy an old scroll pattern.
It gives me a piece where proportion, craftsmanship, material, texture, and finish all belong together.
That is what makes ornamental ironwork feel intentional rather than simply decorative.
Conclusion
I make decorative wrought iron by designing first, forming controlled curves and details, joining the pieces carefully, preserving useful handmade character, and applying a finish suited to the final environment.